Description
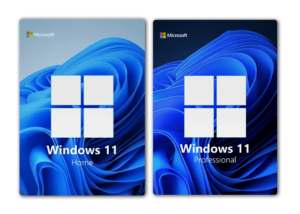
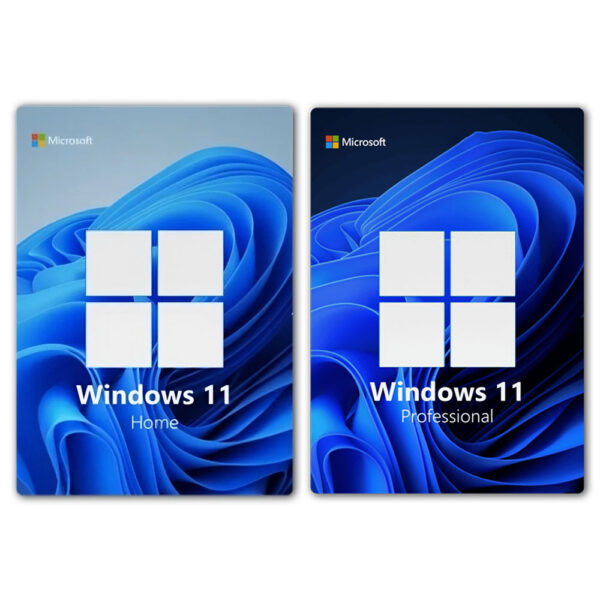
Difference Between Windows 11 Pro and Home
-
Security Features:
-
Pro: Includes BitLocker, Windows Information Protection (WIP), and more advanced security tools.
-
Home: Basic security features like Device Encryption and Windows Defender.
-
-
Business Management:
-
Pro: Supports Group Policy, Azure Active Directory, and the ability to join a domain. Also includes remote desktop access and client Hyper-V.
-
Home: Does not support business management tools or advanced networking features.
-
-
Virtualization:
-
Pro: Comes with built-in virtualization features such as Hyper-V and Windows Sandbox.
-
Home: Limited to basic virtualization options.
-
-
Memory Support:
-
Pro: Supports up to 2TB of RAM.
-
Home: Limited to 128GB of RAM.
-
-
Remote Desktop:
-
Pro: Full remote desktop functionality, allowing you to connect to your PC from anywhere.
-
Home: Remote desktop capabilities are available only as a client, not as a host.
-
Windows 11 Minimum System Requirements
- Processor: 1 GHz or faster with at least 2 cores on a compatible 64-bit processor or System on a Chip (SoC).
- RAM: 4 GB or more.
- Storage: 64 GB or larger storage device.
- System Firmware: UEFI, Secure Boot capable.
- TPM (Trusted Platform Module): TPM version 2.0.
- Graphics Card: DirectX 12 compatible graphics / WDDM 2.x driver.
- Internet Connection: Internet connection is required for updates and to download and take advantage of some features.
- Microsoft Account and Internet Connectivity: Required for setting up for the first time, and for using certain features like the Microsoft Store, OneDrive, and more.
How to Download and Install Windows 11:
- Check Compatibility:
- Ensure your PC meets the minimum system requirements for Windows 11 using the PC Health Check tool.
- Back Up Your Data:
- Before proceeding with the installation, back up important files to avoid any potential data loss.
- Download Windows 11:
- Visit the Microsoft Windows 11 Download Page.
- Choose between upgrading directly via Windows Update or creating installation media using the Windows 11 Installation Assistant.
- Install Windows 11:
- If upgrading, follow the on-screen instructions to complete the installation.
- For a clean installation:
- Create a bootable USB drive using the Installation Media Tool.
- Insert the USB drive into your PC and restart it.
- Boot from the USB drive by pressing the appropriate key during startup (usually F12, Esc, or Del).
- Follow the on-screen instructions to install Windows 11.
- Activate Windows 11:
- Once installed, you must activate Windows using a genuine license key. Go to Settings > Update & Security > Activation and enter your key.
- Set Up Your PC:
- Customize your settings, install essential apps, and restore your files from backup.


